Making chocolate molds can be a fun and creative way to enjoy your favorite treat. Whether you want to make chocolates for gifts or simply for yourself, it’s a great activity for beginners. You don’t need to be a professional chocolatier to create beautiful chocolate designs. Here’s how to get started.
What Are Chocolate Molds?
Chocolate molds are special tools designed to shape melted chocolate into various designs. You can find molds in many different shapes, such as hearts, stars, and flowers. The molds are typically made of plastic or silicone, with silicone molds being a popular choice due to their flexibility and ease of use.
What You Need
Before you start, gather a few essential items:
- Chocolate: You can use any type of chocolate, like dark, milk, or white chocolate.
- Chocolate mold: Choose one that fits the design you want.
- A double boiler or microwave: This is used to melt the chocolate.
- A spoon or piping bag: For pouring the melted chocolate into the mold.
- Refrigerator: For setting the chocolate after pouring it into the mold.
Step-by-Step Guide to Making Chocolate Molds
- Prepare the Chocolate
Start by breaking your chocolate into small pieces. This helps the chocolate melt more evenly. If you’re using a double boiler, place the chocolate in the top pot, making sure the water in the bottom pot doesn’t touch the chocolate. Alternatively, you can microwave the chocolate in 20-30 second intervals, stirring after each time to avoid burning. - Melt the Chocolate
Melt the chocolate slowly. Stir it frequently to ensure it’s smooth and fully melted. Once melted, let it cool for a few minutes so it’s not too hot to pour. - Pour the Chocolate into the Molds
Pour the melted chocolate into your chocolate mold. You can use a spoon or a piping bag for better control. Be sure to fill each cavity fully. If you want to add a little twist to your chocolates, you can sprinkle in some fillings like nuts or dried fruit before filling the mold. - Set the Chocolate
After filling the mold, gently tap it on the counter to release any air bubbles. Then, place the mold in the refrigerator for about 30 minutes or until the chocolate has fully hardened. - Remove the Chocolate from the Mold
Once the chocolate is completely set, carefully remove it from the mold. Silicone molds make this step easy because the chocolate will just pop out. If you’re using a plastic mold, gently flex the sides to release the chocolate without breaking it.
Tips for Success
- Use high-quality chocolate: The better the chocolate, the better your molds will taste. Don’t use cheap chocolate chips—opt for real chocolate bars or couverture chocolate for the best results.
- Avoid over-heating: Be patient when melting the chocolate. Overheating can cause the chocolate to seize up and become unusable.
- Keep molds clean: Make sure your molds are completely dry and free of any debris before using them to avoid ruining your molds.
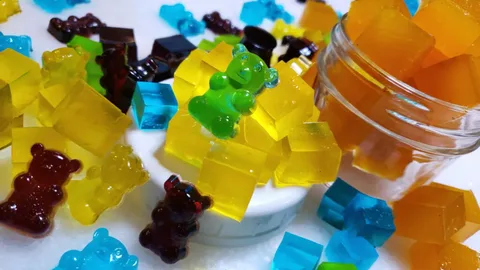
- Silicone Gummy Mold Option: If you’re looking for a multi-purpose mold, you can also try using a silicone gummy mold. These molds are perfect for creating chocolates, gummies, and even small candies. Their flexible nature makes it easy to pop out the chocolates without breaking them.
Variations to Try
- Decorate the Chocolate: After your chocolate is set, you can add decoration like edible glitter, colored sprinkles, or even a drizzle of white chocolate over the top for a beautiful design.
- Flavor the Chocolate: You can experiment with adding flavors to your chocolate before pouring it into the molds. Try infusing the melted chocolate with spices, like cinnamon or chili powder, or add some vanilla extract for a rich flavor.
- Layering Chocolate: For a fun twist, try layering different types of chocolate in the mold. For example, pour dark chocolate first, let it set, then add white chocolate or milk chocolate for a layered effect.
Troubleshooting Common Issues
- Chocolate Sticking: If your chocolate is sticking to the mold, it might be because the mold is too warm or the chocolate hasn’t cooled enough. Try chilling the mold before using it or letting the chocolate cool slightly more before pouring it.
- Air Bubbles: If you notice air bubbles in your chocolate, tap the mold gently on the counter to release them. You can also swirl the mold a little to help the chocolate settle and smooth out.
Conclusion
Making chocolate molds is a simple yet satisfying hobby. With a bit of patience and practice, you’ll be able to create beautiful and delicious chocolates. Silicone molds, especially silicone gummy molds, are a great option for beginners because they are easy to use and provide professional-looking results. So, gather your supplies, get creative, and enjoy the process of making your own chocolates at home!